We have tried to make joining our website as easy as possible, but we know sometimes things don’t quite go as planned, so we’ve put together a handy step-by-step guide, and some common troubleshooting below.
1. Navigate to our ‘Add Your Listing’ tab, and select your business category (you will need to go back to this page if your business covers more than one category)
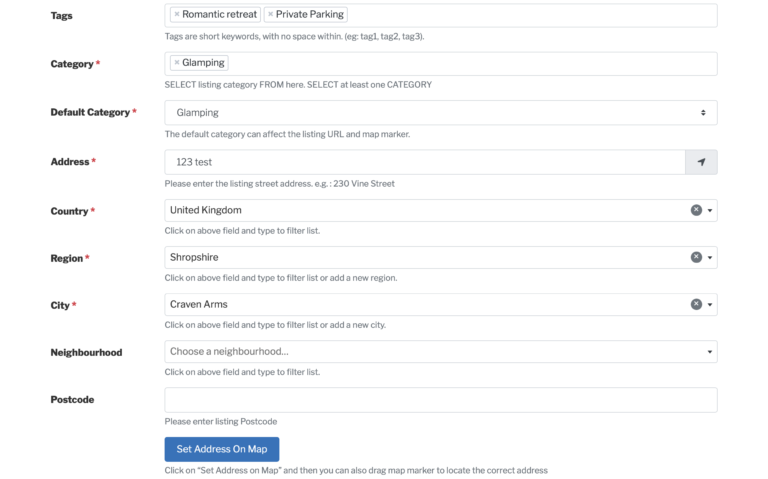
2. Input as much (or as little) information into the sign-up form as you can. All lines with orange asterisks are required fields.
Your page should look something like this.
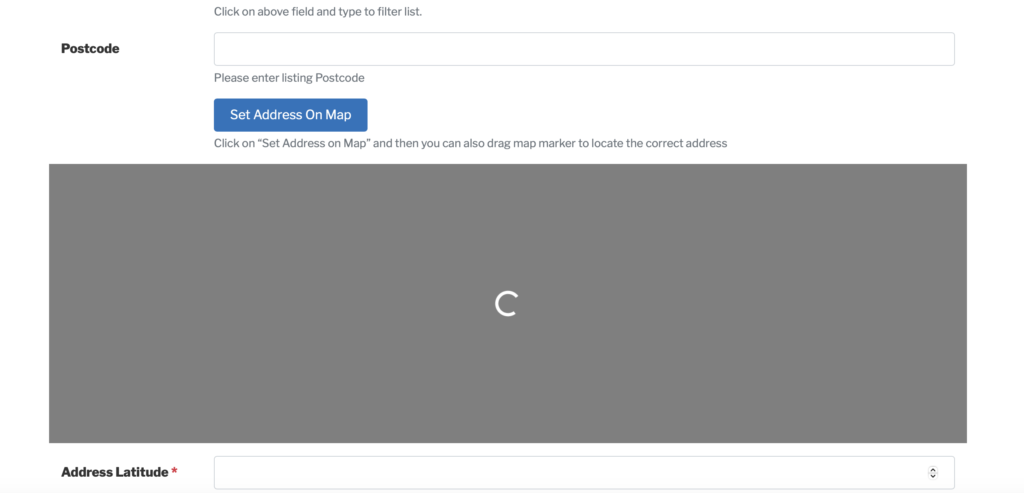
3. It may appear that the map has not updated with your location as it will remain grey with a whirling clog, but don’t worry it will update once your listing has been published.
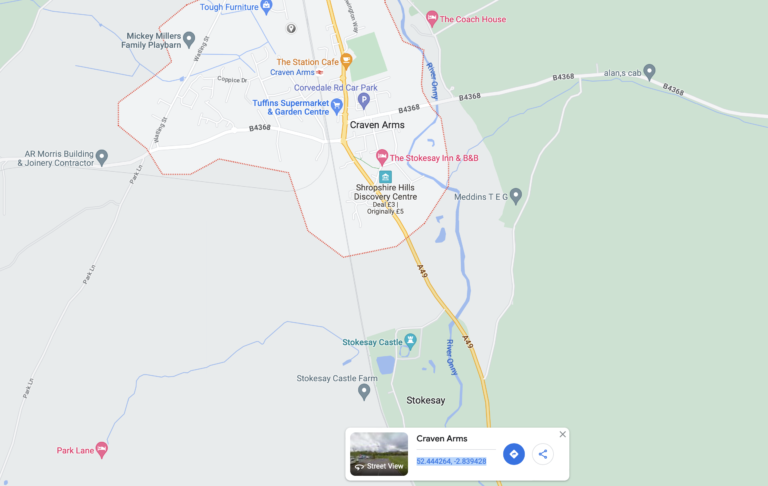
4. If you want a more accurate location you can add the latitude and longitude of your business. There are many ways you can find this, but we have found the easiest way is to use google maps. Find the location on google maps, and right-click, at the bottom of the screen a white box will appear (like below) these numbers are the latitude and longitude. They can be added to the two boxes below the map.
5. Continue adding the required information, including your photos. (As much as we love high-quality images, professional photos may need to be compressed to be uploaded.)
6. Publish your listing!
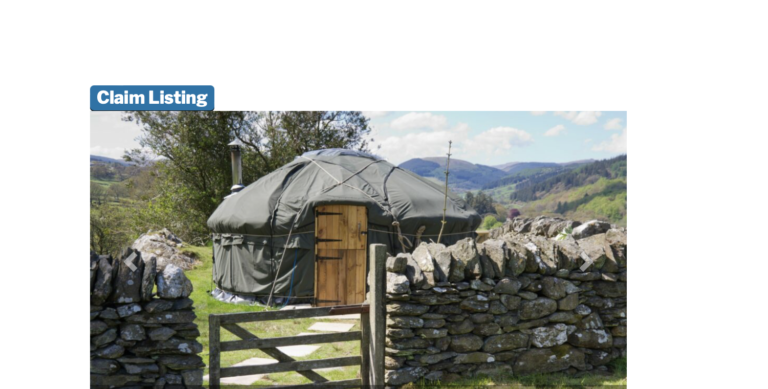
7. Finally, you need to claim your listing so that you can continue to edit and amend your listing moving forward.
8. At the top left-hand corner of your live listing, simply click the ‘claim listing’ button and input the required information.